I really didn’t know what I wanted to do with this cabinet. I wanted it to be really country. Raw and peeling and farm-ish. I wanted t0 maybe try a new color and the interior a contrasting color. Hmmmm.
Of course then I saw in live-and-in-person and found out that it was oak! What is the special thing about oak you may ask? Well, because it has a real texture to it you can use a Weathered-Wood Painting Technique as outlined in Annie Sloan’s book and in my YouTube Tutorial. I was so excited when I figured out how to do it because it really creates that coveted Restoration Hardware look. It is an aged and weathered wood look even if the wood is not old. Here’s the link:
The deal is you really need oak to make this technique work. This is what my piece looked like when it arrived. Oak.
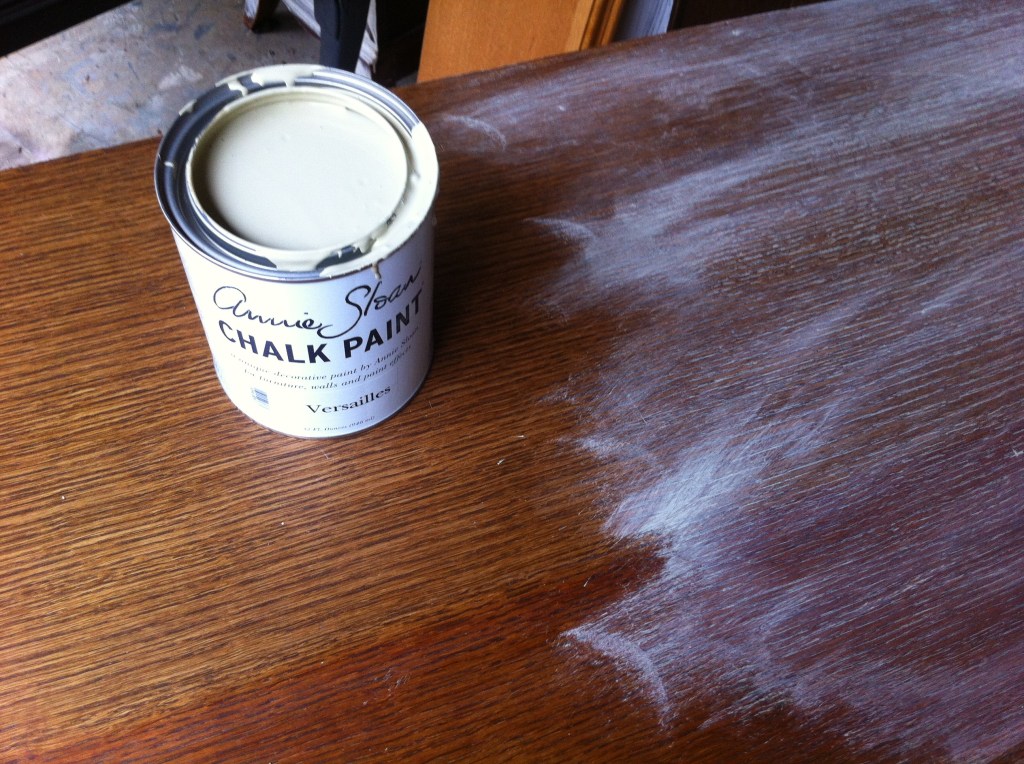
Sun-stained and not very inspiring, if you ask me. Ah, but there is such freedom when you can paint! This piece could turn into anything! I wanted to try something new. A new color. I asked you all on Facebook if you had tried AS Versailles. You posted some gorgous photos of your work. Thank you! Just for reference, let’s take a look at Versailles and AS’s inspiration for the color.
Wow. That’s pretty incredible, yes? I had to try the paint out after seeing this space.
For those of you that have not tried it either, this color has a bit of a yellow/greenish undertone. It’s very pretty, but less in the brown family.
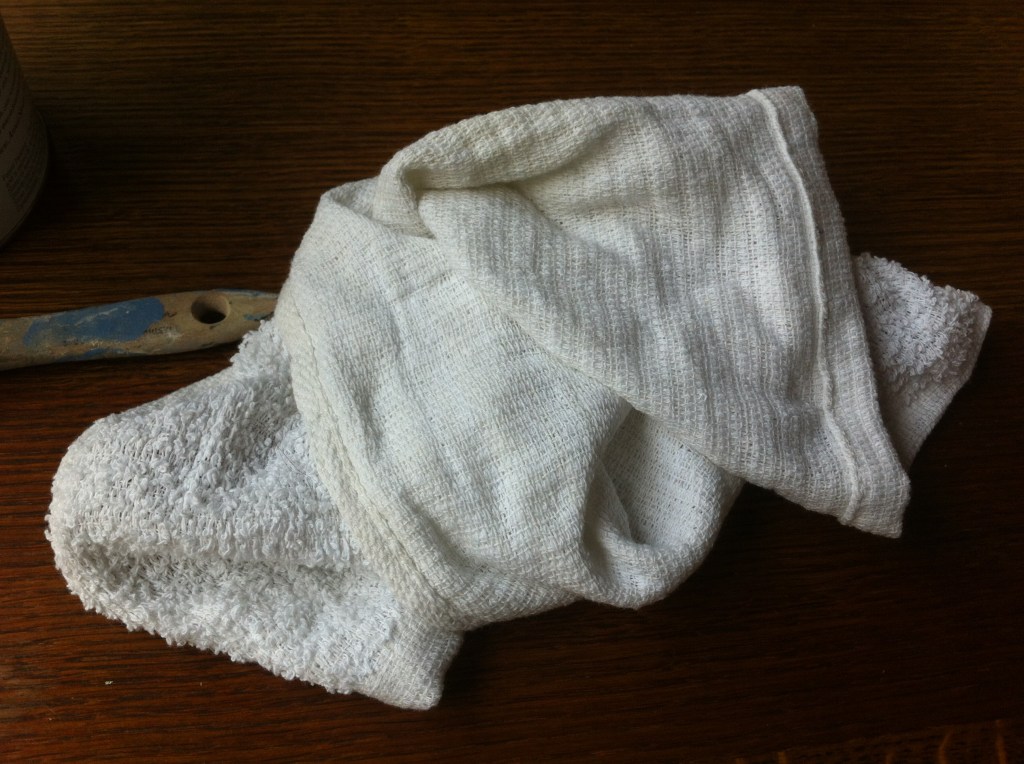
Once you have your oak piece and your paint you will then need a clean rag handy.
Dip your brush sparingly in your paint.
Brush lightly WITH the grain.
Then take your rag and wipe the paint off lightly WITH the grain.
The paint still stays in the crevices of your wood, but come off a bit on the raised areas.
It will start to look like this (above). If you want less paint on your wood then get a damp cloth and wipe some of the excess paint off. This looks a bit heavy here, but keep in mind that it still has to dry.
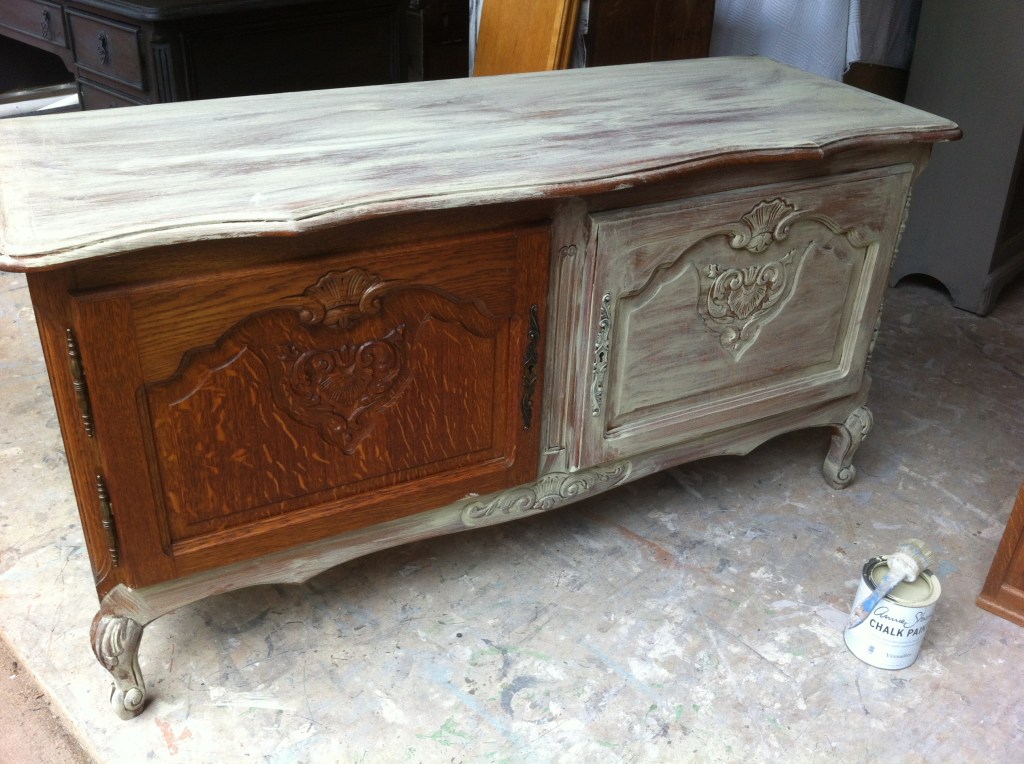
Paint loves wood detail and so do I! Don’t paint the crevices. Let them be the natural wood color for contrast.
Brush strokes enhance the look. Just make sure you are consistently light in your painting.
This is still wet so it looks a tad dark. It will lighten. Time for the hutch & interior! Big reveal & my thoughts on it tomorrow.
FYI – this entire piece took me about 45 minutes.


Hi Christen!
It’s about time that I write to you! I’ve been following you since early 2013, and you were my inspiration in fully immersing myself in this wonderful craft of furniture painting and restoration. You were the first one I found on the web, when after “getting settled” into a new home, new town, new state, new retirement, that helped me “find my way”. I desperately needed an artistic endeavor as a new in town, newly retired empty nester. I was lonely and feeling unfulfilled. Your authentic and engaging blog and Youtube tutorials inspired me to give it a go, and I’ve fallen passionately in love with taking ugly duckling furniture pieces and brushing new life into them. (Honestly, I think it’s brushed new life into me too!)
I’m now attempting to launch a business, having just started a booth rental and an online presence on Facebook and a website. I have no idea how I’ll do, but I know that God is good and He wants only the best for me, whatever that is.
I just wanted to let you know how you impact lives and motivate others with your open, vulnerable style and your wonderful talent! I appreciate you!
Thank you from a devoted follower & God bless,
Terri Barker
Hailey, Idaho
You are BRAVE to do that.. I have been painting almost 2 years now and I still get afraid of the dry brushing. I echo the sentiments of Terri in Idaho.. I too am trying to restart in a new location and learn how to do this. You inspire so much and was also the first impression I had of online tutorials in chalk painting.. thank you so much for the inspiration!
Sincerely
Jamie Kirk
Pensacola Fla