There are many choices for furniture paint out there right now. There is only one Chalk Paint, however, which is Chalk Paint by Annie Sloan. She has trademarked that name. So when you see me referring to Chalk Paint this is what I mean and what I use.
Paint.
So, you’ve picked your color based on the personality of your piece and its locale in your home. Now it’s time to crack open the can. Hopefully you have left it sitting upside down so the sediments are not sitting on the bottom, shaken it for a few minutes and stirred upon opening. You may notice a bit of a water base once opening so be sure you take the time to stir.
Brush.
You will then take your good quality brush and start with a thin coat all over the piece. When I am doing my first coat I do not worry about getting full coverage. I just try to cover most of the wood almost as a guideline. This coat will give you a bit of courage. You’ve painted the wood and there’s no turning back. Only going forward!
Coverage.
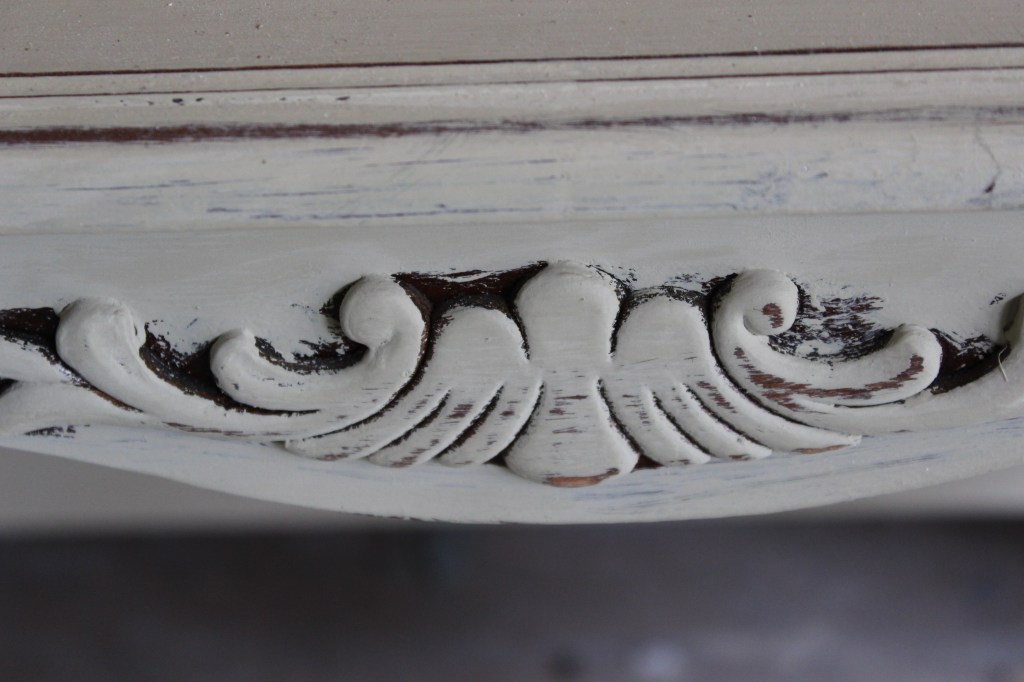
I always do a second coat and work on coverage. I make sure I cover all the wood, if that is the look I’m going for. Typically clients want full coverage with the paint and distressing on the edges. Here is an image of the second coat.
Crevices & Details.
In this stage it’s okay to leave some of those cracks and crevices the natural wood color. It gives the piece character and a natural, aged look. 
Touch Ups.
I must note that one of the best features of Chalk Paint is that you can go back to do touch ups without seeing a discrepancy like in latex wall paint. It is amazing and a quality that I sometimes take for granted. Painting would be a grueling process if every coat had to be perfect.
Watering down?
I know some of you like to water down your paint coats, but typically I do not. The only time I find myself doing this is if a) I’ve come to the end of my can and there is a thick puddle at the bottom that I can salvage OR b) I need a third coat, but do not need to go crazy with anything thick OR c) I’m doing a white wash over a bright color that I like.
Tomorrow we’ll talk about sanding! If you find this refresher series helpful pass along to your painting pals! xoxo


Hi!
I have always liked the blue picture that I see in a lot of your photos. Is it a canvas that you painted? Or, can I get one somewhere? Thanks for this series!
Thanks Christen for this series. You taught me how to paint furniture (via your great you tube tutorials) about a year ago and I am having so much fun! This is a good reminder for me and I want to thank you. I’ve never felt I had a creative bone in my body….chalk paint is changing my mind! And you gave me the courage to try!!! xoxo
I have a question. I am repainting my kitchen table and chairs. But my living situation right now is that I am living with my in-laws so my table is out in the shed. After I am done waxing it will it be okay during the cold winter months? I live in northern Utah and we get a lot of snow and it gets really cold. So will my furniture be okay? Thank you by the way for putting up all of these refresher courses. They are very helpful!!!
I wanted to chalk paint a chair in my daughters room. I jumped on utube and learned all I could from your videos. Found your blog and I’m addicted! You are amazing and your videos are incredible informative. Loved the one on the Restoration Hardware look!
Thank you so much for posting this series. I have only been brave enough to paint one piece…went about it rather hesitantly but have renewed ‘courage’ going forward after reading your post. Thank you so much Only one question for you…do you usually do your painting in a dress? Thanks again…oxoxo Susan
Both the chest and the mirror looks wonderful!